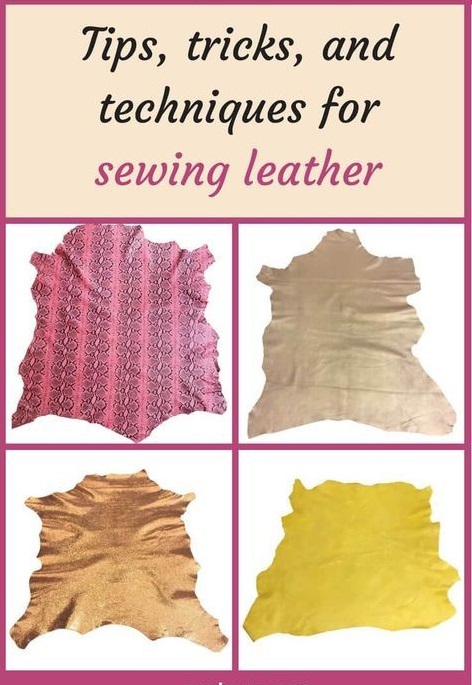
Tip #1 - Choose a soft leather.
Leather varies a lot in thickness and stiffness. How stiff a leather is often has more to do with how it is treated than how thick it is, but you'll want to choose something on the thin to medium side. A soft and pliable leather is best for sewing at home.
Tip #2 - Change your needle.
You will want to use a Leather needle or a Heavy Duty Needle when sewing with leather. These come in various sizes, so you'll have to do some testing to see what works best for you.
Tip #3 - Change your presser-foot.
Leather can often slip around when you're trying to sew with it. It can also be a bit tacky and stick to the plastic and metal parts of your sewing machine, so it's best to change out your sewing foot for something like a teflon, roller, or walking foot. A teflon foot will resist sticking, while a roller foot will roll along it. A walking foot will "walk" the fabric under your needle much the same as the feed dogs on your machine. I personally recommend the walking foot if you're going to invest in a specialty foot!
Tip #4 - Change your stitch length.
Standard stitch length is 2.5, but for thicker fabrics like leather it can be helpful to increase your length. For most upholstery leathers 3.5 works reasonably well, but test a few different lengths to figure out your preference.
Tip #5 - Use synthetic thread.
The tannins in leather will break down cotton thread, so using a synthetic thread will increase the durability of your project and prevent it from degrading rapidly over time.
Tip #6 - Use clips or tape, never pins.
Pins will leave noticeable holes in your leather. Instead, use sewing clips, binder clips, or double-sided tape to hold your seams together. If you do choose to use double-sided tape be sure that it is within the seam allowance so that it doesn't leave residue on the outside of your item!
Tip #7 - Test before you start.
Test out sewing your leather before you start making your item. Test sew over as many layers as you will need to finish your projects. Do this with reference to the tips above to be sure that your machine is able to sew over what it needs to.
Tip #8 - Consider new methods.
If during the testing phase you find that your machine is not capable of sewing over the amount of seams you need, consider how you might adjust your project to make it work. For example, leather doesn't fray, so raw edges can often be left on the outside of an item. Use this to your advantage!
Tip #9 - Cut one layer at a time.
Leather is often thick and can be slippery, so avoid cutting more than one layer at a time. Cutting pieces individually means you pieces are more accurate and it lets you inspect the leather for any natural imperfections you may not want in your final project.
Tip # 10 - Iron, hammer and topstitch.
Because the seams of leather can be thick, you may want to reduce excess bulk before you finish your project. You can iron leather so long as you use a pressing cloth to keep it from burning. Hammering the seams of leather is also useful for flattening them out and this step can be done before sewing a seam that might be too thick for your machine. Lastly, topstitching is a great way to hold down bulky seams that don't want to lay flat!
